
Have you encountered the custom menu limit error in WordPress? While this is actually not a real error, like other common WordPress errors, most treat it as one.
This is actually just a message telling you that you have hit the limit and you cannot save anything past that limit. There’s nothing wrong with your website, so don’t worry too much.
Instead, this is actually an issue encountered because of the settings your web hosting provider uses. The settings you pick on your website will not matter if your web host has set others already.
The solution is simple, find the PHP.ini file and change the limits. Today, I will demonstrate how to resolve the custom menu items limit error in WordPress.
What Causes the Custom Menu Items Limit Error?
So what exactly causes this problem? The default menu item limit, for most web hosts, is around 1000 inputs which end up being pretty close to 100 menu items.
No matter how many menu items you add, you cannot go past the input limit that was set in the PHP.ini file. In fact, none of them will save, which will likely lead to a frustrating day.
While custom menu items are extremely common in WordPress, having very large custom menus, with over 100 items, is not. With that said, it still happens and businesses may have the need.
For example, you could run a clothing business. There are hundreds of different designer names you can use as menu items and it may be necessary to do so.
It is also important to remember that you need to avoid busy pages. While it is very normal to want to lead your visitors to every article or product, that doesn’t work. Pages that have a lot of menu items tend to have too much information for visitors. While this is highly dependent on the nature of the website, large menus do not succeed often.
How to Fix the Custom Menu Items Limit Error in WordPress
This issue is actually straightforward to fix. You simply need to change the input limits.
However, if you are on a shared hosting server, you will probably need to contact your web host to make the necessary changes. If they are unhelpful, it’s probably time to switch web hosts.
Since you will be editing files on the backend of your website, I recommend creating a backup of your website. This will ensure that if a mistake is made, you can revert to it before it happened.
There are a few ways to achieve this, which I will now cover.
Method 1: Edit the PHP.ini File
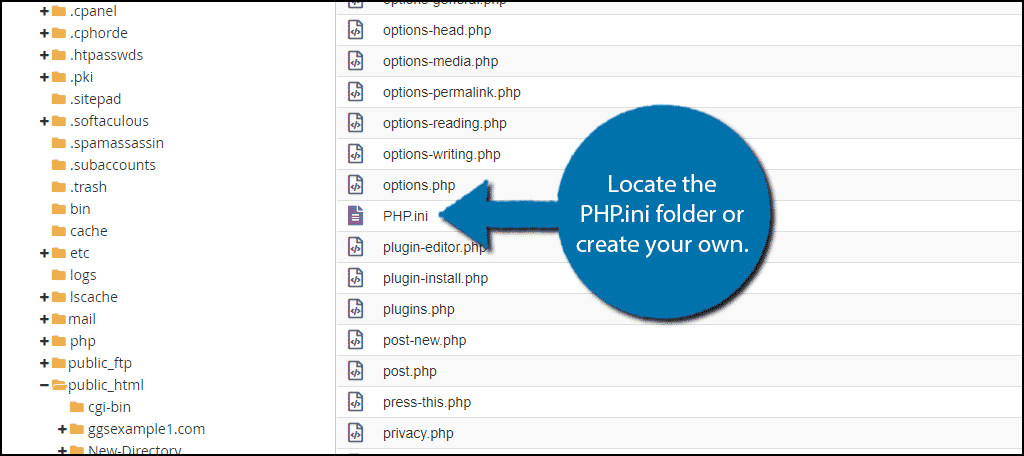
Step 1: Locate the PHP.ini File
Locating the PHP.ini file is slightly different depending on your web host. It should be located in the wp-admin file, but if it is not you can create your own there.
Since this file can dictate how much memory you have for your website, it is common for web hosts to not allow customers to change it. If this is the case, you will need to contact your web host to assist you.
Let’s start by logging into the cPanel and clicking on the File Manager option. The File Manager will allow you to access all of the files related to your website.
Click on the public_html directory, then click on the wp-admin folder. Search the folder for the PHP.ini file. If it is not there, create a new file called PHP.ini. Remember, spelling counts.
Step 2: Edit the PHP.ini File
Once inside the file, you need to find the lines that control the number of inputs available. If you created your own file, simply copy and paste the following lines:
suhosin.post.max_vars = 5000

suhosin.request.max_vars = 5000
If the file was already in place, raise the number up in an increment of 1000. It will most likely be 1000 or 2000. Remember that your web host may have disabled this feature from clients.
If nothing changes, you need to contact them to help resolve the issue.
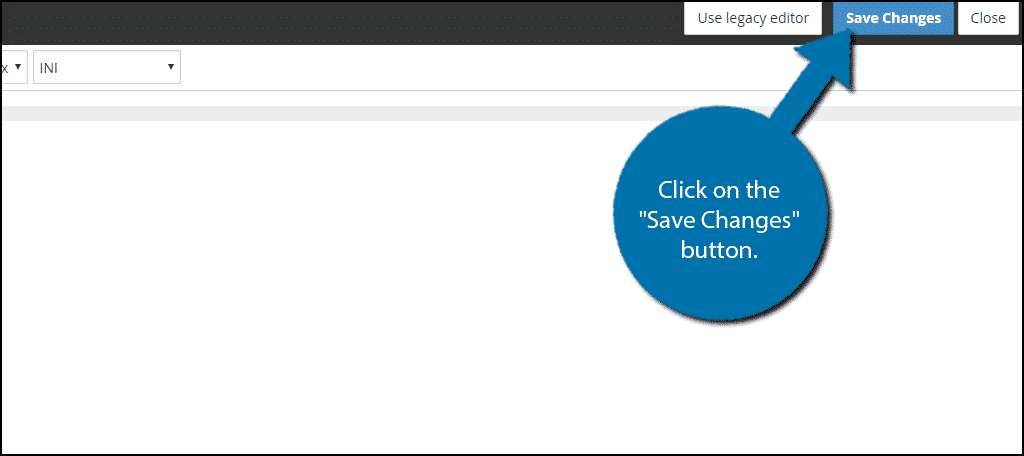
Step 3: Save Your Changes
Click on the “Save Changes” button when you are done.
Congratulations, this should resolve the custom menu items limit error if you have access to changing this code. The reason why a web host would not allow you to do this is that it can overstress their servers.
You are paying to use the server and there are generally better plans available, so you may need to pay more to increase the limit.
Method 2: Using the cPanel
Step 1: Enter the PHP settings in cPanel
A more direct approach to increasing the number of menu variables is to edit them directly from the cPanel. This method does not involve any coding, but may not be available to all users as it is dependent on your web host.
First, log into your cPanel and locate the Software section. Click on the Select PHP Version option.
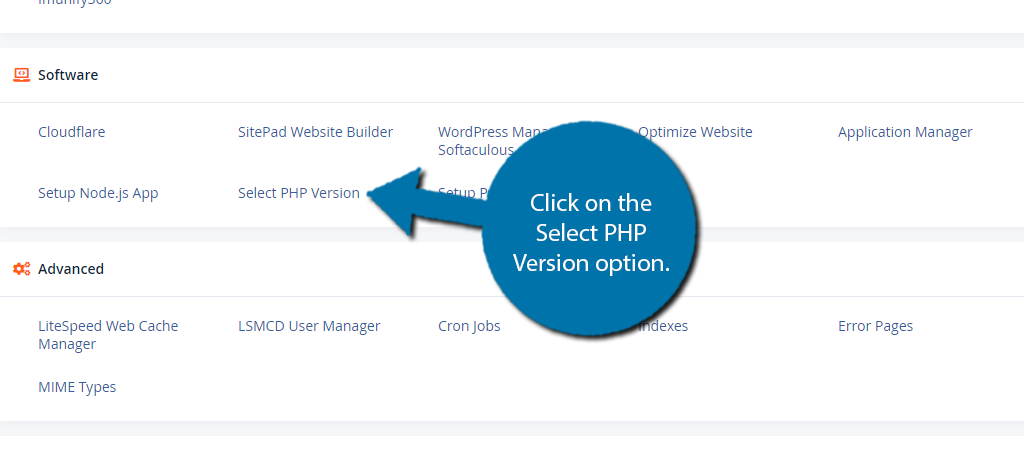
As you might suspect, you can select your PHP version here, among other things. Instead, we are going to be adjusting some settings so click on the Options tab.
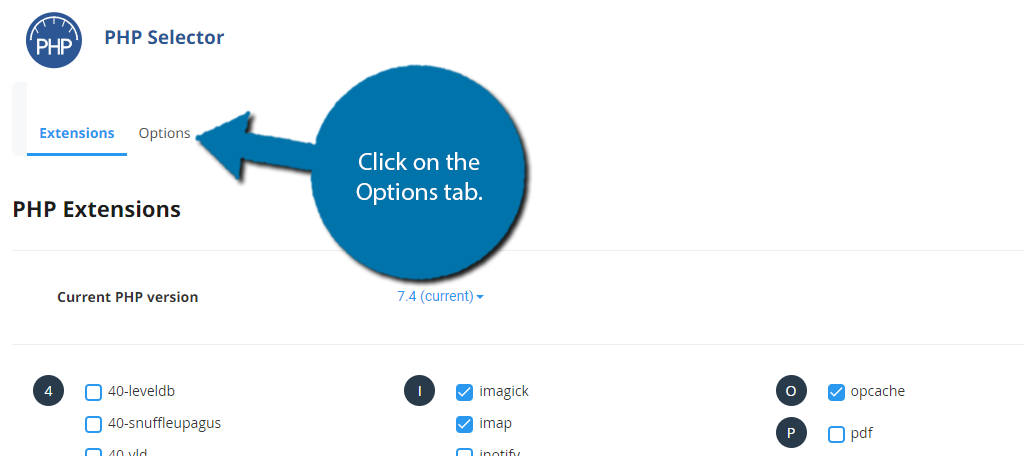
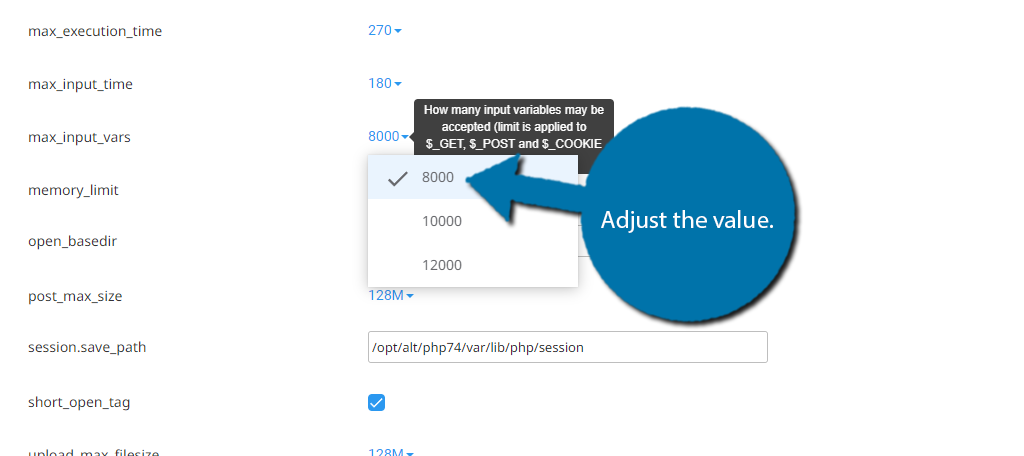
Step 2: Adjust the max_input_vars Value
Here you can adjust a variety of variables that would normally require you to edit a file. For the purpose of this tutorial, all you need to do is adjust the max_input_vars value to the desired value.
As long as it is higher than it currently is, the error will resolve itself.
Scroll down to the max_input_vars value and change it to the necessary value by using the drop-down.
If you cannot adjust this value, it is being blocked by your web host. The only solution is to contact them.
Method 3: Edit the .htaccess File
Step 1: Locate the .htaccess File
Another way to approach the problem is to edit your .htaccess file to adjust the value. However, this is not an option for everyone as this depends on your hosting environment.
The first step is to actually find the .htaccess, assuming you actually have one.
Start off by logging into your cPanel and selecting the File Manager.

Once inside, you just need to locate your .htaccess file. The good news is that it is in your website’s root directory (normally called public_html_), so it’s pretty straightforward to find.
At least if you actually have a .htaccess file.
Some websites may not have actually generated one. If that is the case, then you will need to take a minute and create one yourself.
Step 2: Edit the .htaccess File
Once inside the file, all you need to do is add one line of code. And just to reiterate, this method might not work, as either your hosting environment may not be configured for it, or your web host may be outright blocking you.
Simply copy and paste the following line of code into the .htaccess File.
php_value max_input_vars 5000
Step 3: Save the .htaccess File
Save the changes and see if the error is fixed. If not, you may need to contact your web host for further troubleshooting.
Pick the Plan for You
Whenever you are dealing with memory issues on your website, looking at your web host plan should be the first thing step. Your web host will clearly outline what your memory allocations are and you need to make sure they are honoring them.
Web hosts have plenty of technicians that help you resolve your common issues and if they don’t, consider switching.
How many custom menu items do you use? Have you contacted your web host for support?
Thank you! You saved my (2nd) day! I had already wasted one searching for what caused the 5XX errors.