The release of WordPress 5.0, also known as Gutenberg, has really opened up what you can achieve when building a WordPress website. Sure, there were a lot of questions about Gutenberg. But as they continue to be answered, we can see that building with a WordPress custom Gutenberg block is the future of the platform.
Gutenberg blocks have opened a door that allows us to do all kinds of unique things when we are building a site, post or page. You can even build reusable Gutenberg blocks so that in the future you can simply plug these blocks in, which can save you a lot of time.
With that being said, have you ever wanted to build a custom Gutenberg block? There are already a lot of different blocks available to use in WordPress, but customization is always at the forefront of our minds.
Well, you are in the right place. Below I will show you how to easily create a custom WordPress Gutenberg block. This will help set your site apart and also give you even more freedom.
Remember, you can even export and import your custom Gutenberg block for use on other WordPress sites.
Create a Custom WordPress Gutenberg Block
In order to create a custom Gutenberg block, we are going to use a plugin called Block Lab. This plugin will help you easily build a custom block in Gutenberg by using the combination of your WordPress admin area and a simple template system.
With developer-friendly functions and the ability to work within the WordPress admin system, Block Lab is arguably the easiest and fastest way to create a custom Gutenberg block in WordPress.
Install and Activate Block Lab
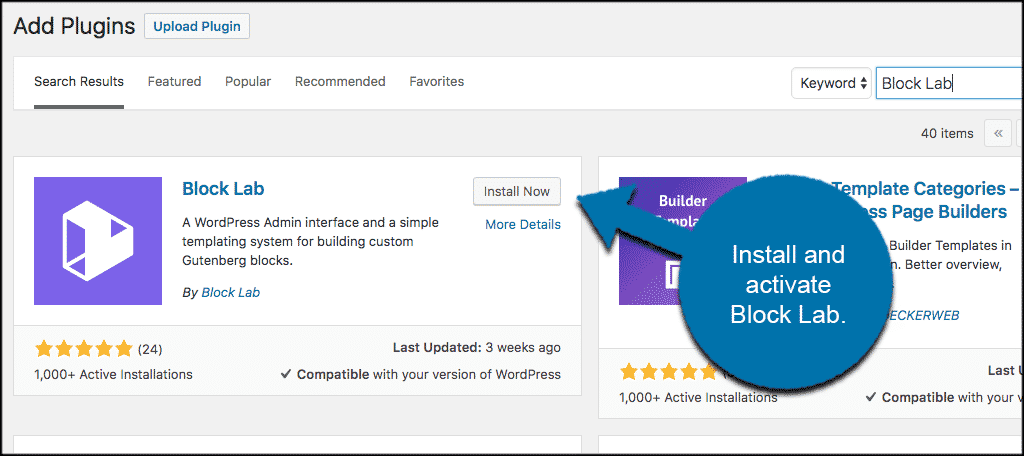
To get started you want to install and activate the Block Lab plugin from the plugin’s page within your WordPress admin dashboard.
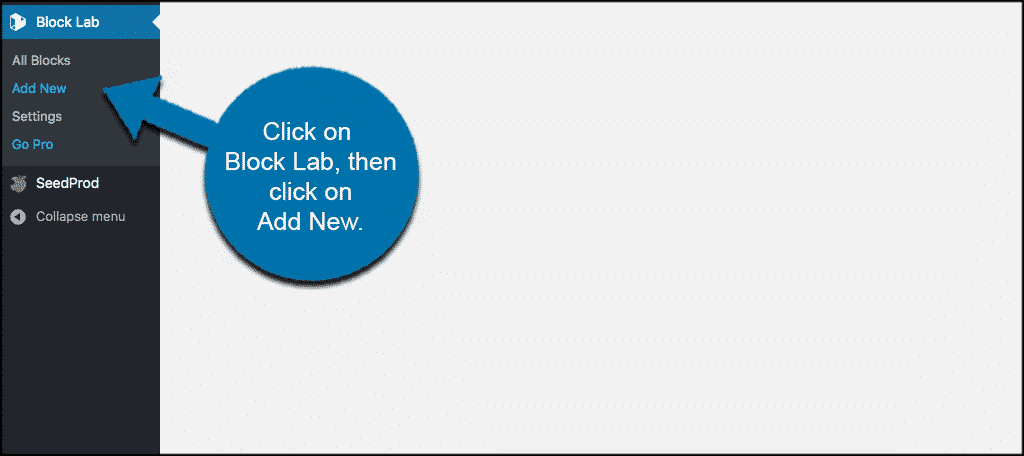
Once the plugin has been installed and activated you will see a “Block Lab” tab on the left panel of your WordPress admin dashboard. Our first step is to create a new custom Gutenberg block. To do this, click on Block Lab > Add New.
Create a New Custom Gutenberg Block
You will be taken to the Block Lab area where you can create a new custom block. To get started, give your custom block a name so it is easy to recognize later. The name can be anything you want, but preferably something related to the type of block you are building.
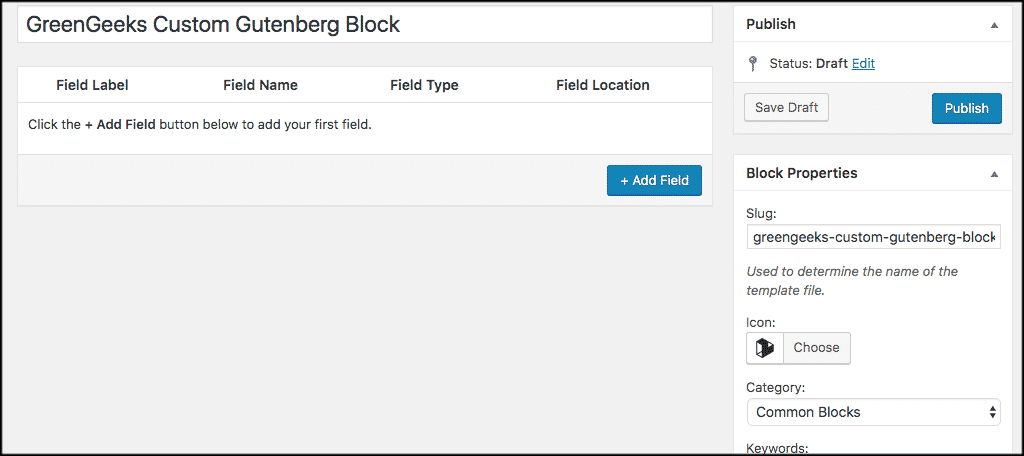
You can see that on the right side of the page there are some block properties to choose from. Go through those and select them according to what you want or need. You can also add 2-3 keywords if you want to help make it easier to locate your custom Gutenberg block later on.
Now, it is time to add some fields to your custom block. There are all sorts of fields you can add when you do this, and you can add multiple fields as well. Some of the fields you are able to add include:
- Text
- Text Area
- URL
- Number
- Color
- Image
- Select
- Multi-Select
- Toggle
- Range
- Checkbox
- Radio Buttons
Name your field, make your selections and continue on. You can add as many fields as you want. Basically, this will depend on the type of custom Gutenberg block you are building.
When you are finished, click on the “Close Field” button at the bottom. If you want to add another field, then simply click on “Add Field” again and go for it.
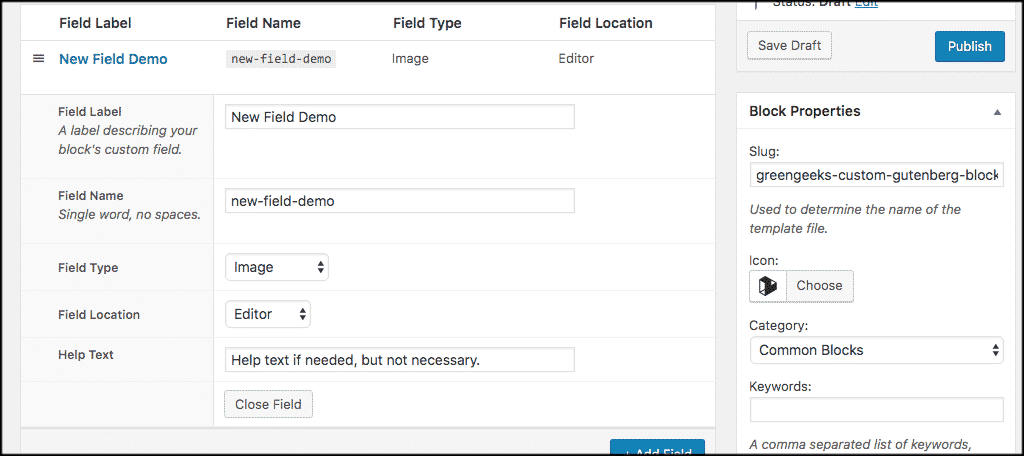
Note: You may get additional options based on the field type you choose. For example, if you are using the “Text” field, you will get other options to fill in like placeholder text and a character limit.
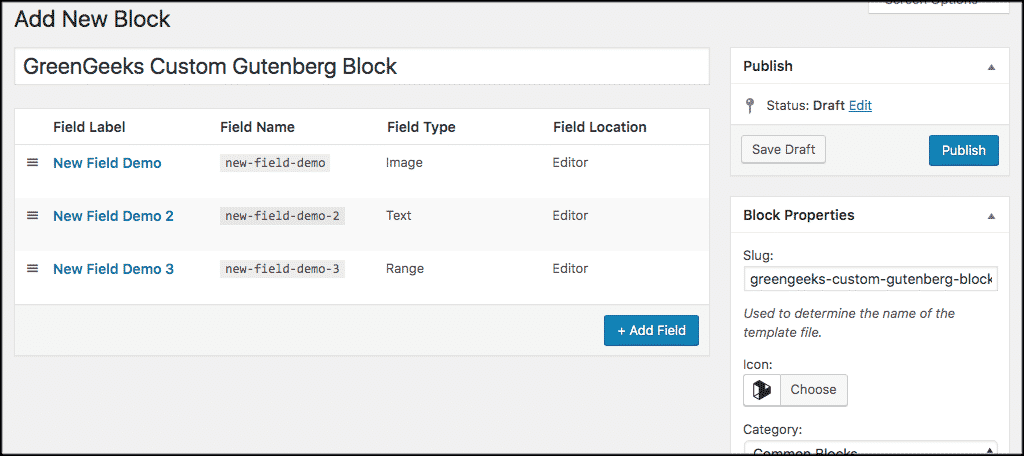
Once you have added all the fields you want, take a second to review them. You can drag and drop the fields into the order that you want as well. In the example below, I created three fields.
When you are satisfied with your fields and the order they are in, go ahead and click on the “Publish” button that is located on the upper-right of your screen. When you do, the custom Gutenberg block will be live and ready to use.
Create Your Custom Block Template
Now that you have created a custom Gutenberg block, you are done with the first step. However, the block won’t actually work until you create a block template. You have to create the template and upload it to your current theme folder.
Let’s do this together.
As you can see in the screenshot below, Block Lab looks for certain template files in your theme. In this case, they will be looking for the one below.
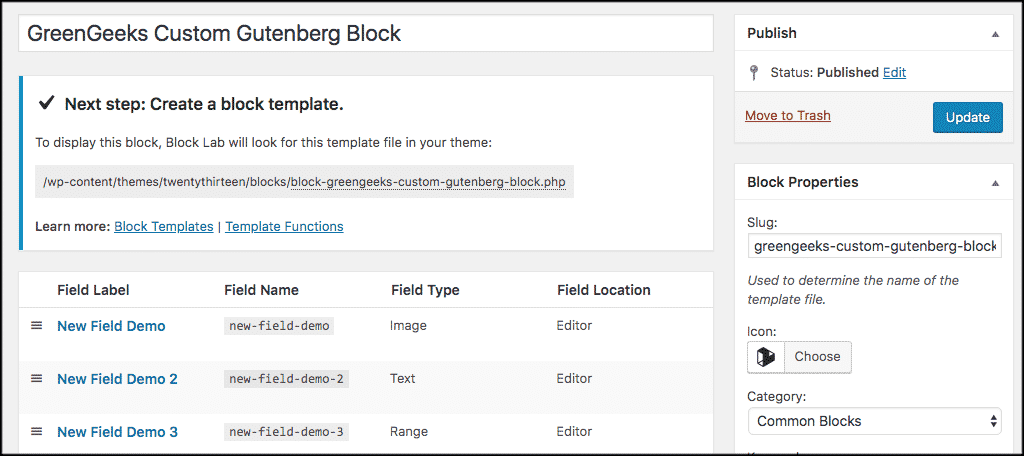
The custom block template file tells your plugin how it should display the block fields that you have created within the editor. In turn, the plugin will look for the template file and then use that file info to display the block content on your post or page.
Create a Desktop Folder
The first thing you want to do here is to create a folder on your desktop and title it “blocks.” Once you have created your site template file, you will put it into this folder and then upload it into the current WordPress theme directory you have running.
Create Block Template File
To create the file we are about to make together you can simply use a plain text editor like Notepad or something similar.
Note: Every time you add one of your new fields to your custom block, you have to add the following PHP code to your block template file:
Remember, you want to replace add your field name here with the actual field name.
For example, the name of the first field in this demo is simply new-field-demo, so the above would actually look like this when added:
Not too difficult right? Let’s go ahead and do the rest for this particular example:
Now all you need to do to finish up is add some HTML tags for styling purposes. You can do these several ways depending on your preference for styling and display. Here is a demo for you to follow:
;%20?>)
Lastly, name your file. Then, save and put it into the blocks folder you previously created. In this sample, I am using: greengeeks-custom-gutenberg-block.php.
Note: Your file name should be the name of your custom Gutenberg block.
If you want to style your Gutenberg block with custom CSS, simply add the code you want in a separate Notepad file, save it as greengeeks-custom-gutenberg-block.css, and put it into the blocks folder with the .php file.
It will help if you know and understand how to write custom CSS.
Upload Custom Block Template File to Theme Folder
The last thing you need to do to complete this process is to upload the blocks folder that contains all the files into your WordPress theme location. The easiest way to do this is to use an FTP Client to upload these files.
If you already have an FTP Client, great! If not, I recommend FileZilla as a great one to use for this process. Once you have connected using the FTP client of your choice, just look for the /wp-content/themes/ folder. Open up the theme you are currently using and drag and drop the blocks folder into that particular directory.
Note: Since Block Labs allows us to create custom blocks that are theme specific, if you change your theme, you will need to copy the blocks folder you have and add it into your new theme directory using the same process above.
That’s it! If done correctly you can go open a post and add your custom Gutenberg block whenever you want. Your new block will automatically show in the block area of the site and will be there whenever you want.
Creating a custom Gutenberg block does not have to be a hard, time-consuming process. I hope this article showed you how easy it is to create a custom WordPress Gutenberg block.
Have you created any custom blocks in the past? Is this the process you tried or have you done it another way?
Thanks for the Block Lab shout out and great tutorial! 🙂