Coupons and discounts are always a great way to keep customers interested and coming back to your website. However, sometimes it can be confusing when it comes to how you should build and display a coupon. Using a coupon creator makes the most sense, and this is how to do it.
There are several ways you can do this. You can use a free online coupon maker template, or try to design one yourself using a program. However, there is also a smooth, easy to use plugin called Coupon Creator that can do all this for you.
Today, I am going to show you how to use it to create coupons and easily put them on your WordPress website.
Why Use Coupons?
Coupons are a great way to build loyalty and even trust with customers. Not only do certain coupons and discounts allow customers to purchase your products at a discounted rate, but they also keep them interested enough to come back and buy more items in the future.
Building an online presence is already quite a journey. You need all the help you can get when putting your brand and products out there. Running deals and using a free coupon maker to help is a great way to get recognized.
Let’s look at the plugin we are going to use today and see what it offers.
Coupon Creator
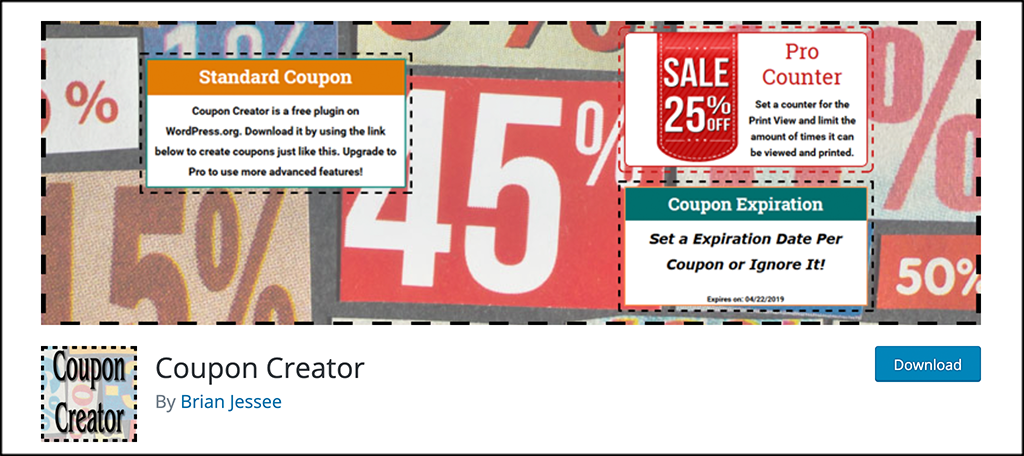
Coupon Creator is a plugin that allows you to easily build and manage coupons in your WordPress admin dashboard. The plugin is lightweight and will not slow your site down. It comes with a lot of great features and options and gives you all the tools you need to build a complete library of coupons.
You display the coupons you build using a generated shortcode that comes once each new coupon is built. The plugin also offers block support for the Gutenberg editor.
You simply go to the coupon creator section of the plugin and use the tools provided to build the coupon you want. Other great features include:
- How To Section
- Shortcodes
- Coupon Loops
- Coupon Categories
- Shortcode Inserter
The plugin is very simple to install. Once done, you can quickly build great looking coupons and put them anywhere you want on your site using the shortcodes.
Let’s take a look at how to get it all up and running.
Note: There is a pro version of this plugin available. If you feel like it is something you need, then feel free to take a look and purchase it. The tutorial below is based on the free download version of the plugin.
How to Build a Coupon Using Coupon Creator
Step 1: Install and Activate the Plugin
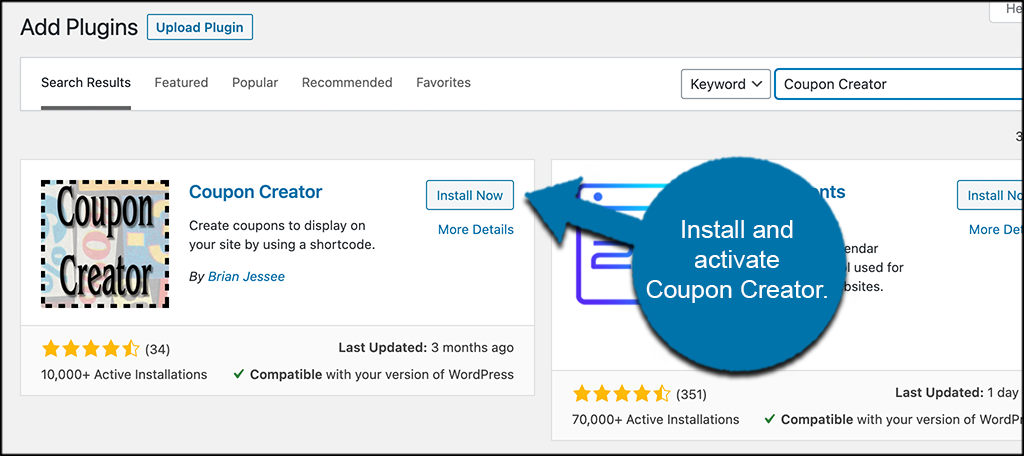
In order to start building coupons using this free coupon maker, you first need to install and activate the plugin. You can do this by jumping over to the Plugins page in the WordPress admin dashboard.
Simply use the search field to search the plugin by name. When it comes up, install and activate it right from there.
Step 2: Go to Coupon Options
Now that the free online coupon maker template plugin is installed, you want to access the options section to set that up first. Click on Coupons > Options, located on the left side menu of the dashboard.

You will see this is now an available option after you activate the plugin.
Step 3: Configure Plugin Options
At this point, you are in the main options and configurations for Coupon Creator. You will see that there are 7 main tabs to look through. These include:
- Defaults
- Link Attributes / Permalinks
- Display
- Templating
- Help
- System Info
- Reset
Let’s take a quick look at all of them together.
Defaults
These are all the main default settings for your coupons. You can manage and configure them all how you see fit. These will be applied universally, so, go ahead and fill all this out.

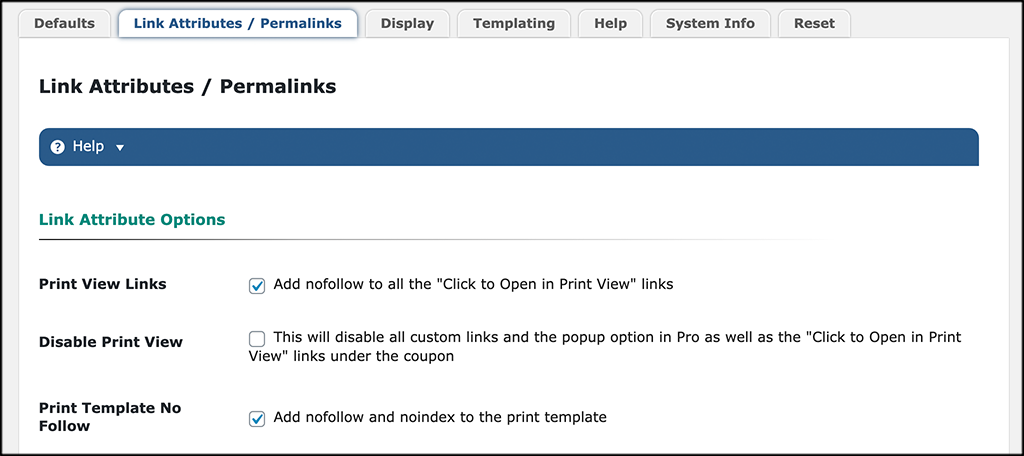
Link Attributes / Permalinks
Set all your links and permalinks how you want them. You can have them popup into another window, and also set your permalinks to be more SEO friendly.
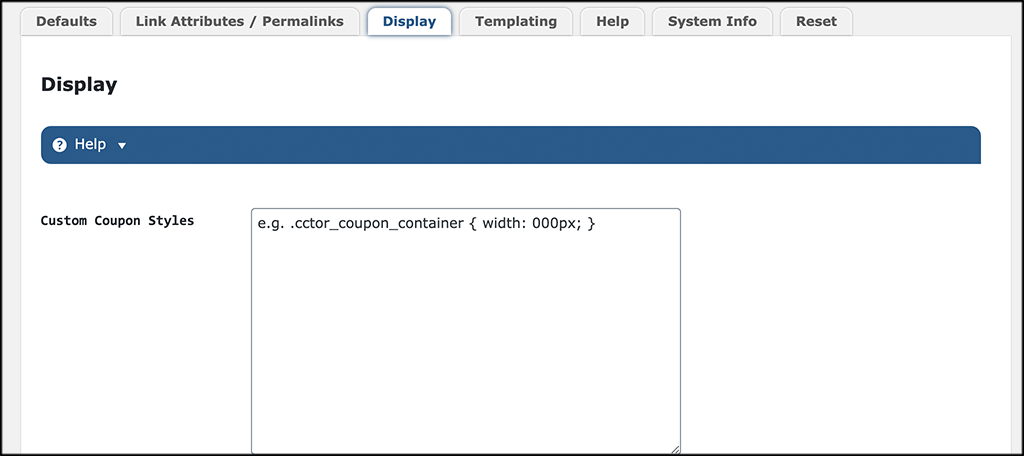
Display
If you are familiar with custom CSS, then you can add that here and set other display options how you want.
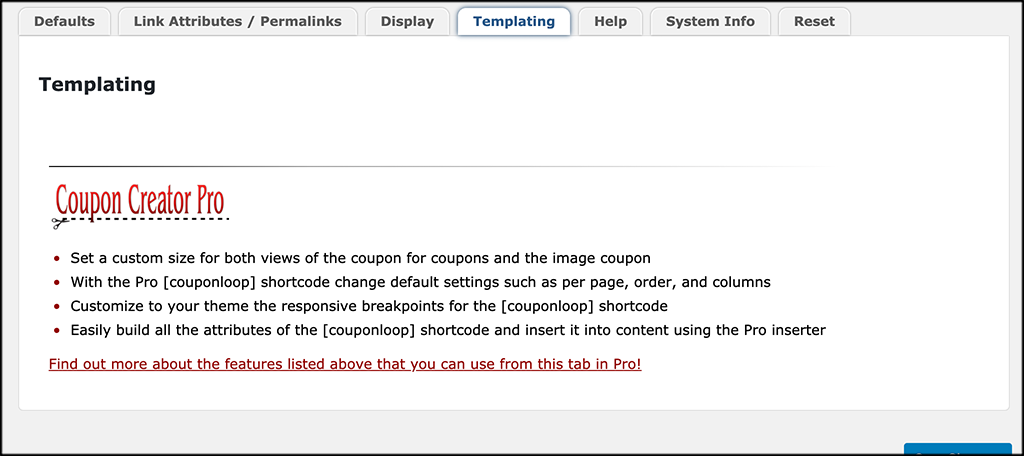
Templating
This section is only available if you are using the pro version of Coupon Creator.
Help
The “Help” tab provides exactly that. If you are struggling with a certain aspect of setup or configuration, then use these built-in help guides for troubleshooting.

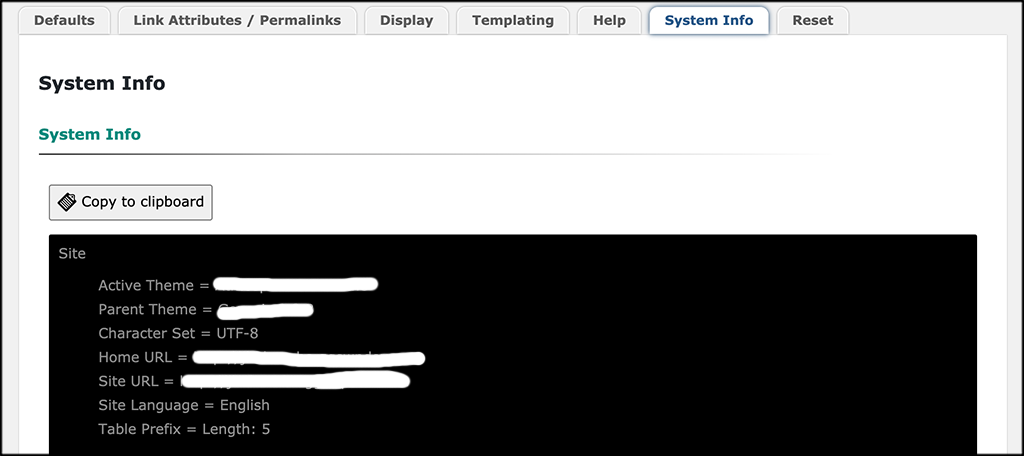
System Info
This area displays all the current system info for both the plugin and the rest of your setup. You can view it all anytime you need.
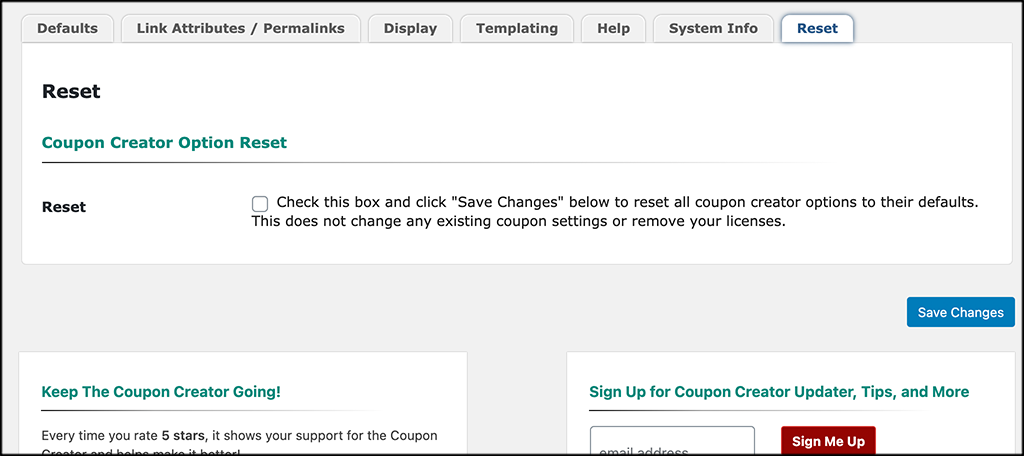
Reset
If you need to reset the Coupon Creator plugin back to all the defaults, then you can easily do that from this tab.
Click the “Save Changes” button to make sure all your configurations stick and let’s move on.
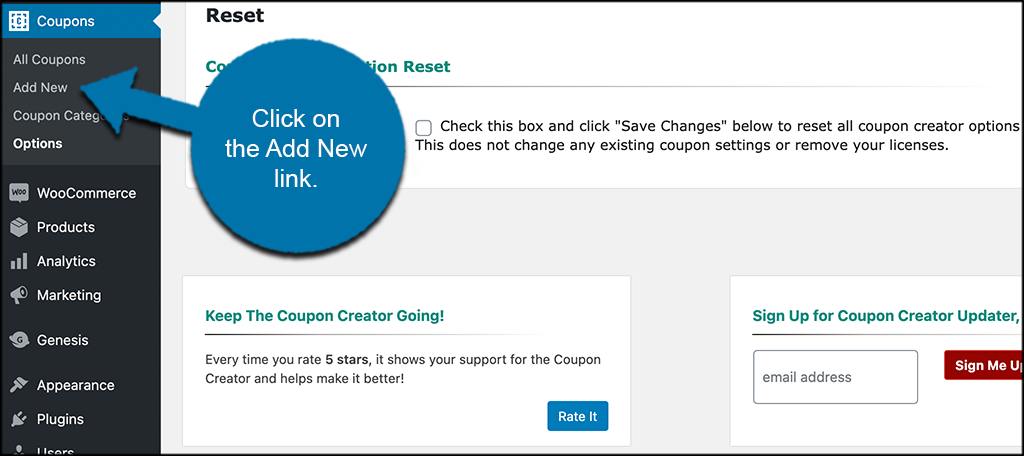
Step 4: Add a Coupon
Now that everything is set up, you can add a new coupon. Click on “Add New” under the main Coupons section. This is on the left side menu.
This opens the new coupon editor screen, and you can start adding the details for your new coupon.
Start by adding a name for your new coupon.
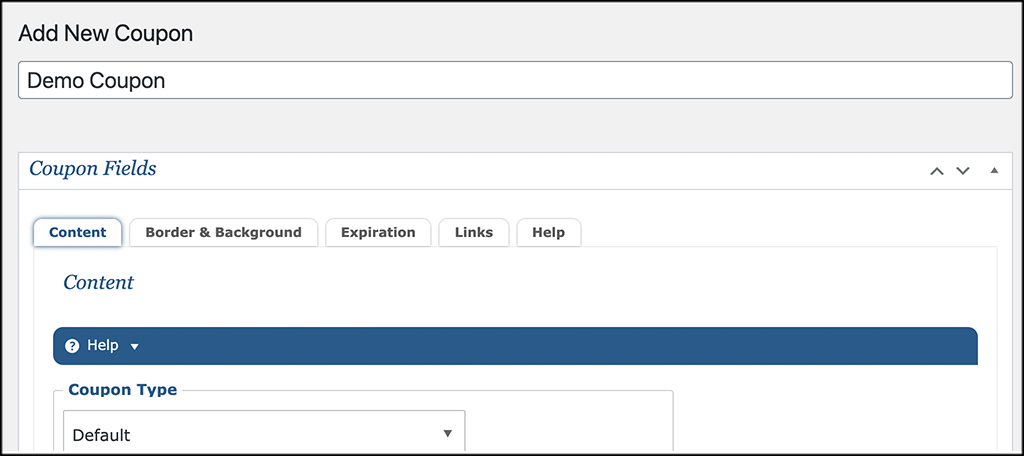
Now, scroll down some, and under the “Content” tab, fill out all the settings how you see fit.

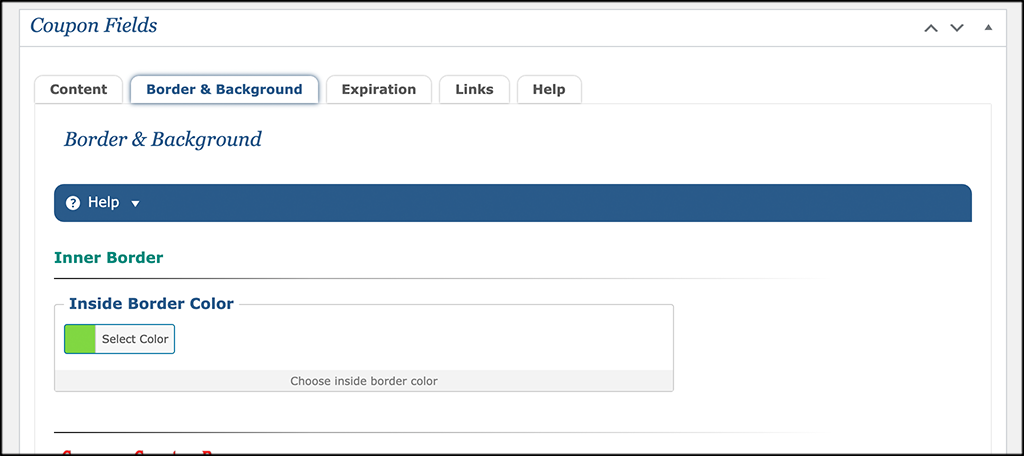
Click on the “Border and Background” tab and select these options as well.
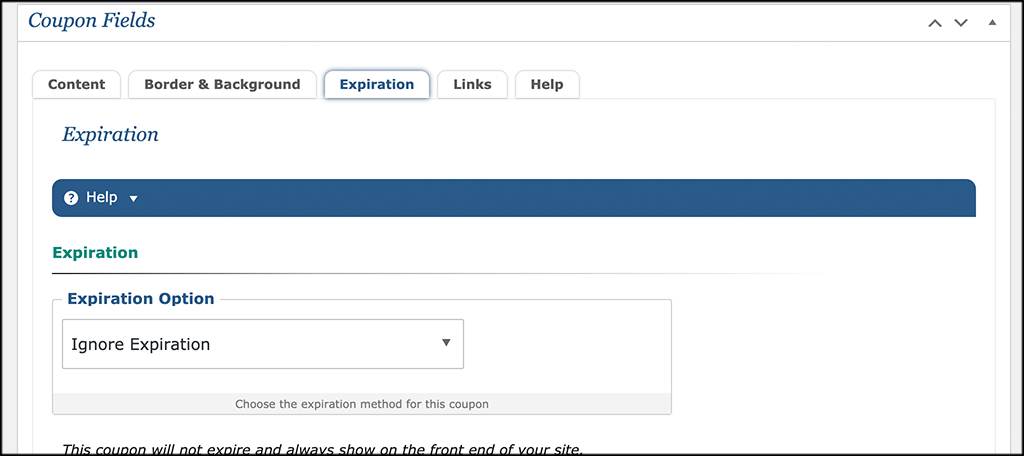
Now, click through to the “Expiration” tab and set an expiration date for the new coupon you are currently building.
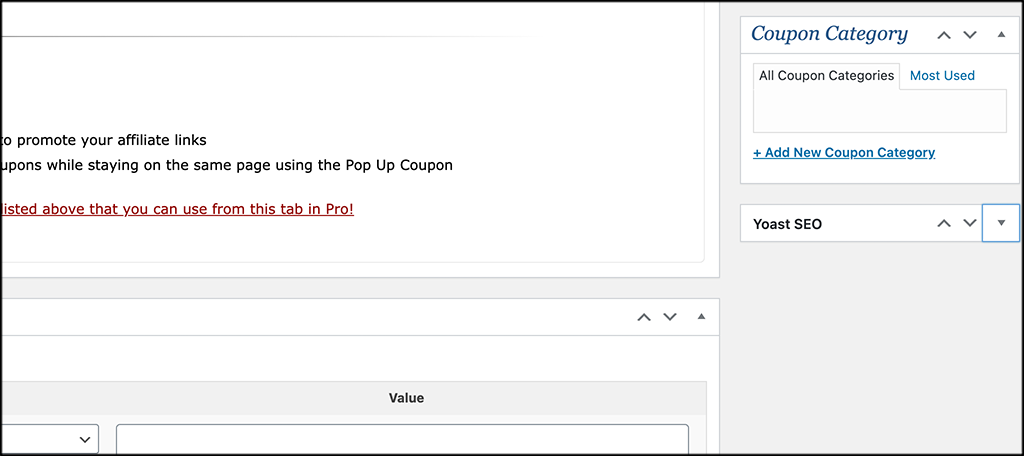
Now, there are two tabs left. However, unless you are running the pro version of the plugin, the “Links” tab will not be anything you can use. The “Help” tab we went over above.
There is one more thing to do before publishing your coupon. Pick a coupon category that you want it to go in. You can create categories for all your coupons in the “Coupon Categories” section of the plugin.
That’s it! Publish your new coupon and it will be live and ready to post.
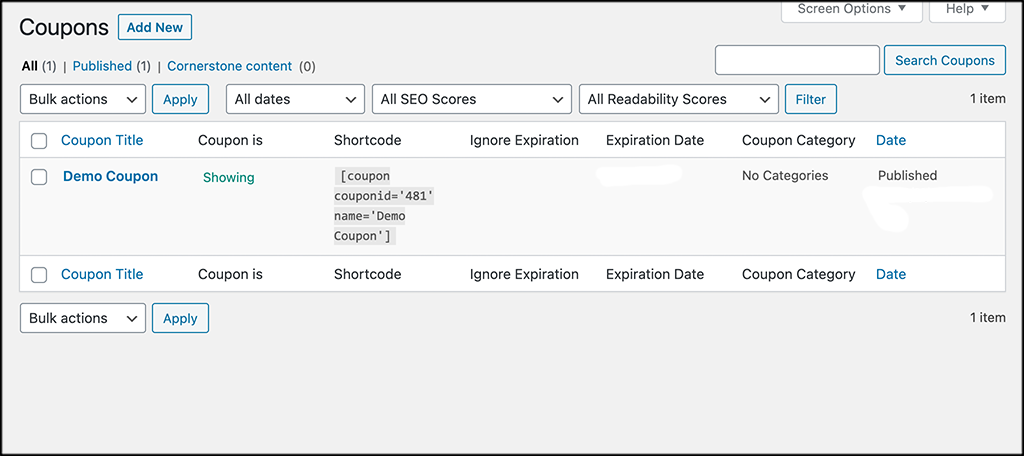
Step 5: Copy Coupon Shortcode
Now that your first coupon is live, you need to go grab the generated shortcode to display it. You will find all your coupons in the “All Coupons” section of the plugin. Simply copy the shortcode of the coupon you want to display.
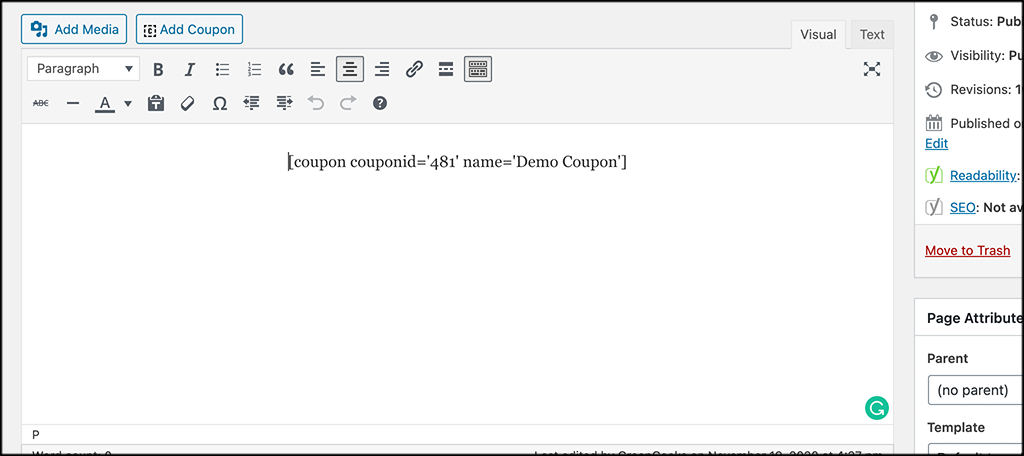
Step 6: Paste Coupon Shortcode
Head over to the post, page, or widget area where you want the coupon to be displayed. Once there, paste the shortcode you copied above into the area of choice.
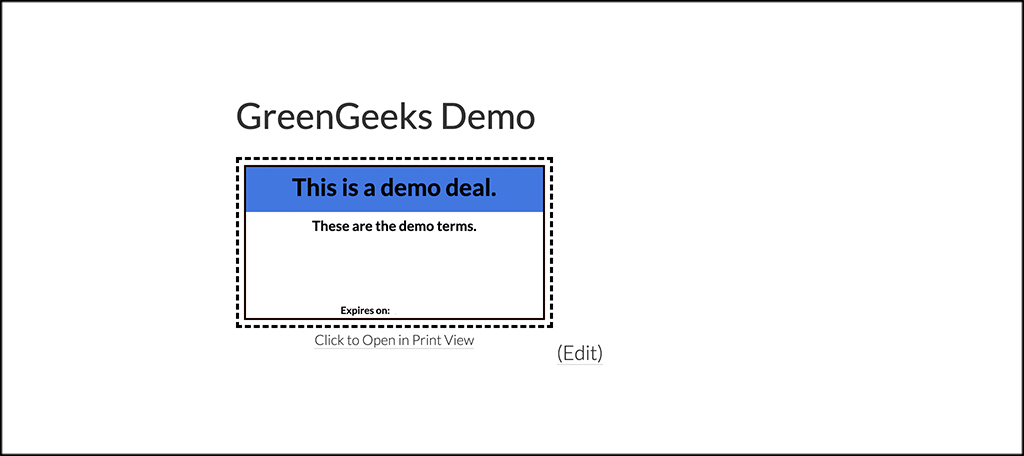
Step 7: View Live Coupon
Your coupon should now be live and running where you put it. Go ahead and take a look and see if everything is satisfactory.
You can repeat the prices above as many times as needed to build more coupons.
Coupon Creator FAQs
You may run into some common issues while using the plugin. Hopefully, these frequently asked questions can help.
How Do I Fix a 404 Error on the Coupon Print View?
More often than not, this issue is either a theme, plugin, or hosting conflict. Try resaving your permalinks and then check the print view again. If that doesn’t work, try disabling plugins and testing it. If nothing seems to work, contact your host and see if it is a conflict there.
A Coupon I Created Was Working and Now it is Gone?
If it was working and then disappeared, then most likely your expiration date has come. Please double-check the expiration date for the coupon.
Where Can I Paste the Shortcode?
You can paste the relevant coupon shortcode in any post, page, or custom post type. You can also place the coupons in any widget area of your website by using a text widget.
Final Thoughts
Using Coupon Creator to build coupons for your customers is a great way to keep them interested and coming back. Everyone likes a good discount. Using this plugin is the easiest way to accomplish this, as it gives you all the tools needed to build dynamic, interactive coupons.
Have you been trying to add coupons using a different method? Have you found this plugin makes the task easier?