Do you have multiple authors and want to show each one at the bottom of their work? If so, you’ll be pleased to know this is a simple task with the right plugin. In this case, it can be accomplished with the PublishPress plugin.
You’ll be able to show multiple authors in WordPress in just a few clicks. This will allow visitors to see their name, biography, and avatar. This plugin even supports guest authors, so it’s a great choice regardless of what type of website it is.
Today, I will demonstrate how to display multiple authors with Publish Press.
Why Show Multiple Authors in WordPress?
Multiple authors allow websites to produce more content at a faster pace. It also helps raise the quality of the work because you can spend more time on every post. However, each author has their own writing style, and simply labeling them under one author is a disservice to the work of others.
Thus, most websites choose to display each author in their employment.
It’s also quite common for some readers to specifically look for an author. They may like their opinion on a certain topic or just prefer their writing style. Showing off the author’s name can help the content they write to find a reader base.
And if they are a freelance writer, having their name appear in the author box allows them to easily add their work in a resume. As a result, they will be able to find more work easier as a result of their experience.
Luckily, the process is simple, so website owners shouldn’t have trouble adding an author.
How to Easily Display Multiple Authors
Step 1: Install PublishPress Authors
PublishPress Authors allows web developers to display multiple authors on their website. The author box it adds allows you to enter the author’s name, biography, and display their avatar. It supports an unlimited number of authors and even supports guest authors.
It also fully supports co-author posts, which are posts that have multiple creators. These are ideal for group projects that the whole team worked on. The plugin is easy to use and should only take a few minutes to set up, so let’s begin.
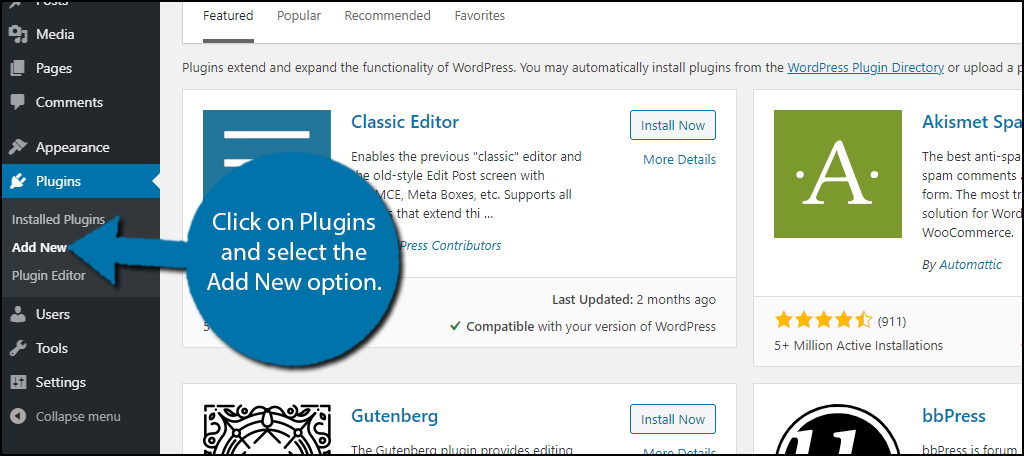
Click on Plugins and select the Add New option on the left-hand admin panel.
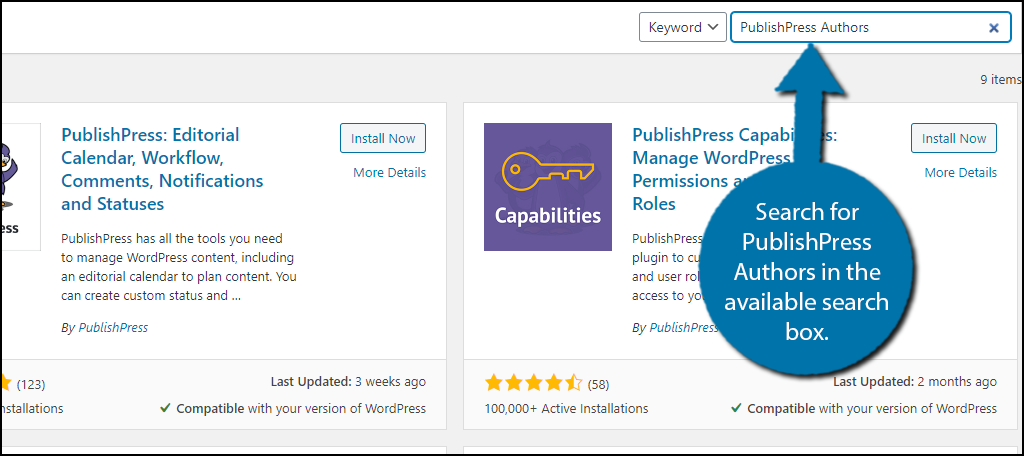
Search for PublishPress Authors in the available search box. This will pull up additional plugins that you may find helpful.
Note: There are multiple PublishPress plugins, make sure the one you locate is the “Authors” tool.
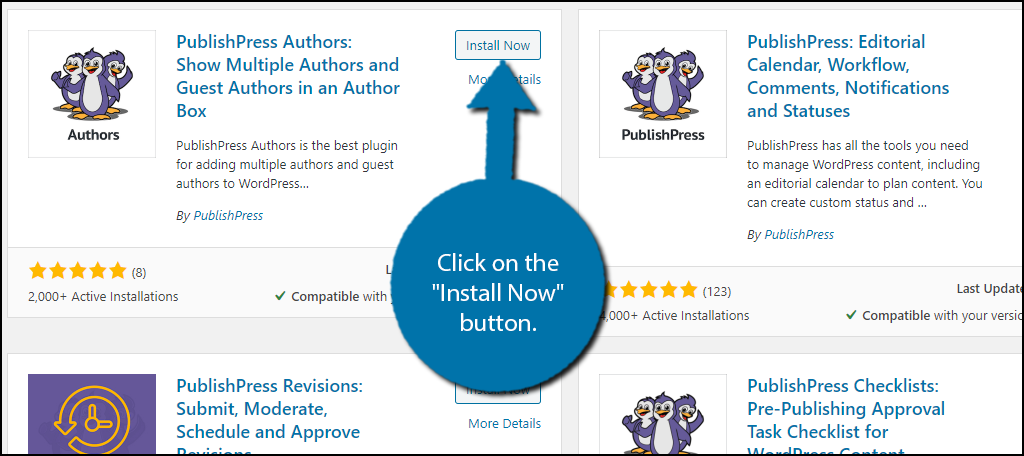
Scroll down until you find the PublishPress Authors plugin and click on the “Install Now” button and activate the plugin for use.
Step 2: Settings
This plugin has a short settings section that will help you set up automatic author profiles every time an Author user role is created. There is also an option to create author profiles for existing author user roles, which is necessary if you are installing the plugin on an existing website.
On the left-hand admin panel, click on Authors and select the Settings option.
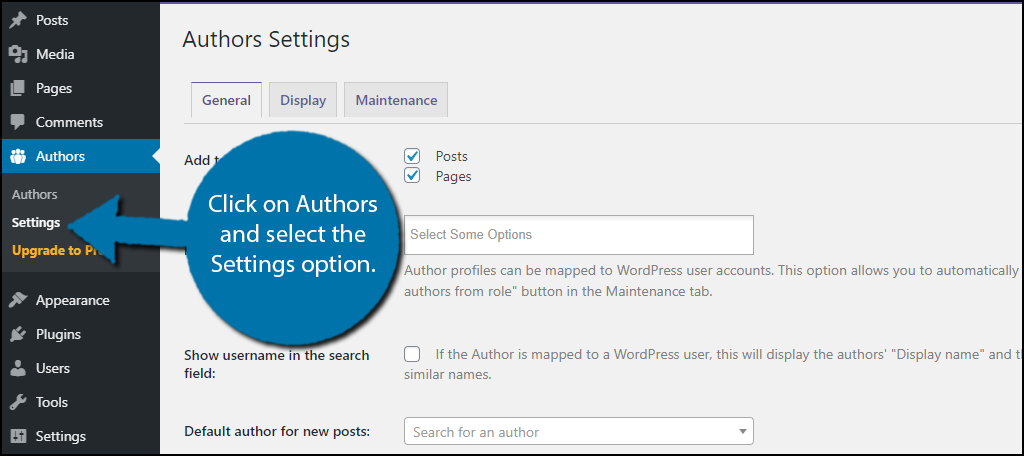
The settings are divided into three tabs that include General, Display, and Maintenance. I will give a brief description of each one.
General Tab
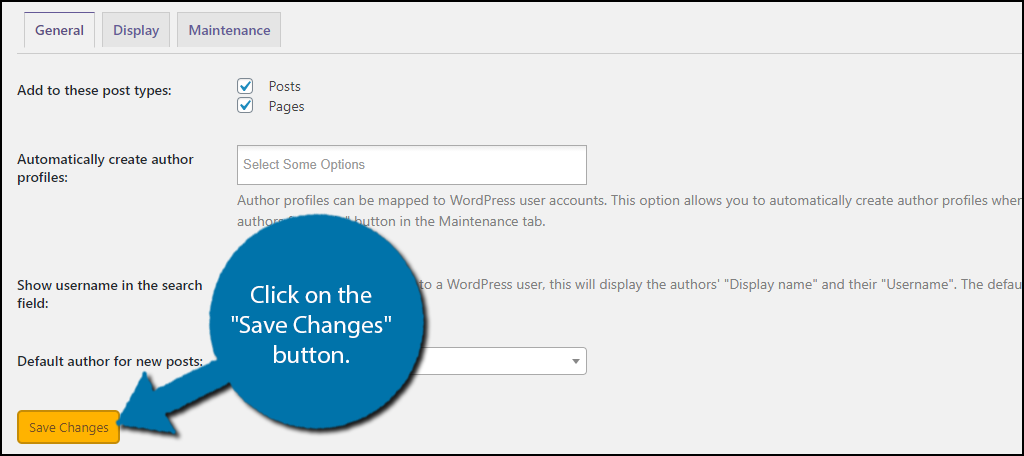
In the General tab, you can choose to add author cards to all posts and all pages, automatically create author profiles when a specific user role is created, if you want the author’s username to be displayed, and top-select a default author for each new post.
Click on the “Save Changes” button when you are done.
Display Tab
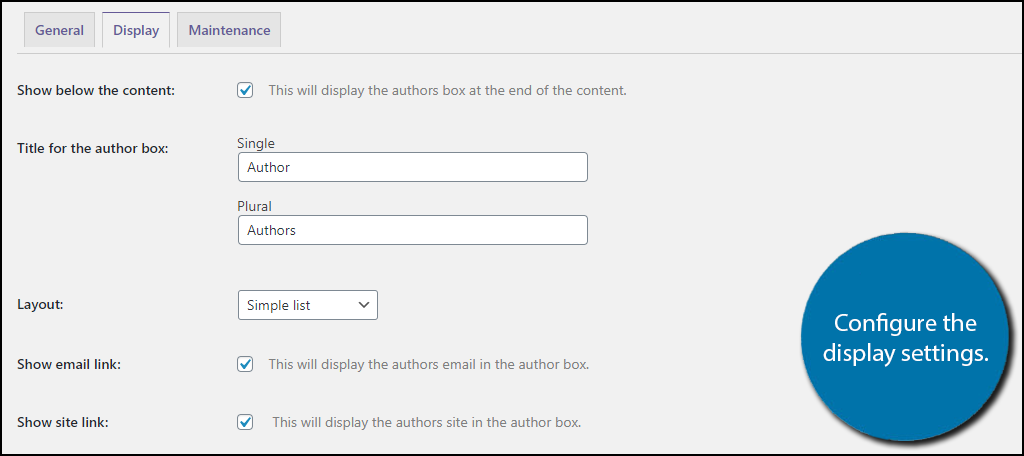
In the Display tab, you can select whether to show the author box at the bottom of the content or not, the title for the author box, the layout of the box, show an email link to contact the author, and display a link to the author’s personal website (useful for guest writers and freelancers).
When you have made your choices, click on the “Save Changes” button.
Maintenance Tab
Note: It is strongly recommended to make a backup of your website before interacting with any of the options in this tab.
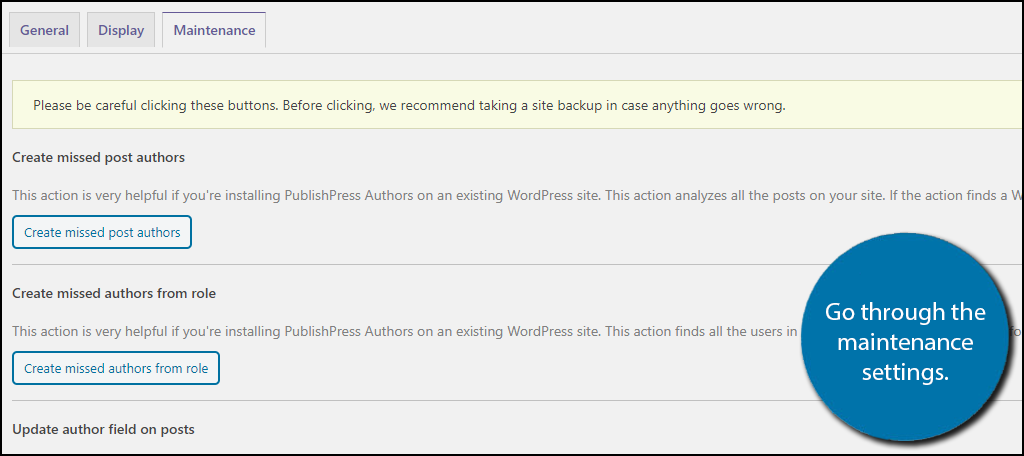
And finally, on the maintenance tab, there is a series of buttons that you can use to make sweeping changes. This is, by far, the most important part of the settings process. You can have the plugin scan your website, locate posts that do not have an author assigned, and fill it in automatically with the “Create missed post authors” button.
Another extremely useful button you can find here is the “Create missed authors from role” button. This one will scan your existing users and if they have a specific role that should have an author profile, it will generate one. This is necessary if you are installing the plugin on an existing website.
If you used a previous version of PublishPress and did not upgrade from version 3.7.4 or below for quite some time, there is an option to automatically update all of the author profiles.
Luckily each option has an explanation alongside it, so make sure to read everything carefully before pushing any buttons.
Step 3: Customize Author Profiles
All that’s left is to actually customize the user profiles that will appear as authors. These profiles should have an avatar and biography in place.
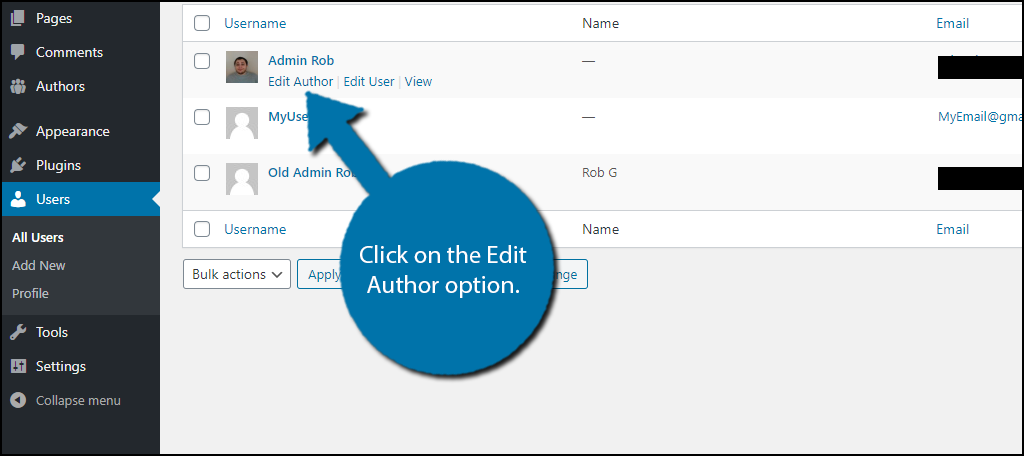
To add them, click on Users and select the All Users option.
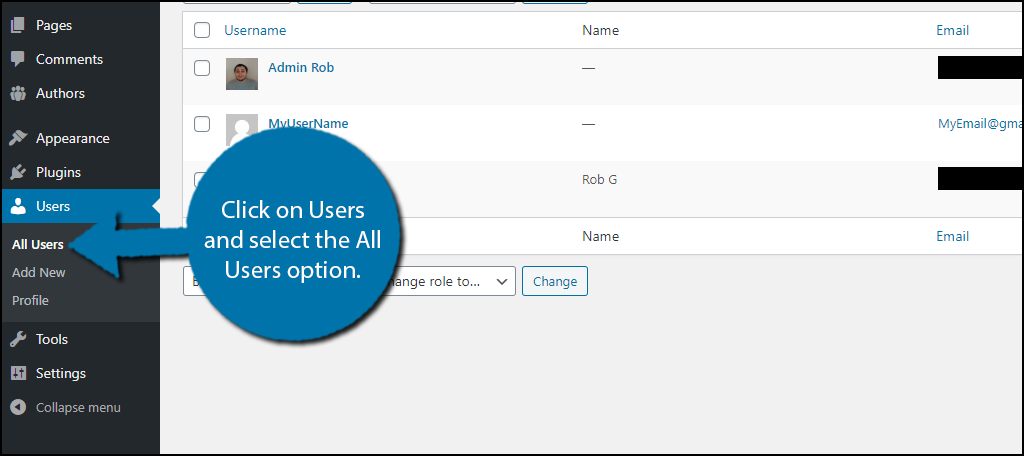
If a user has an author profile, you will see an Edit Author option appear when you hover over their name. If they do not, you will see a Create Author option instead. Click on either option to begin customizing the author profile.
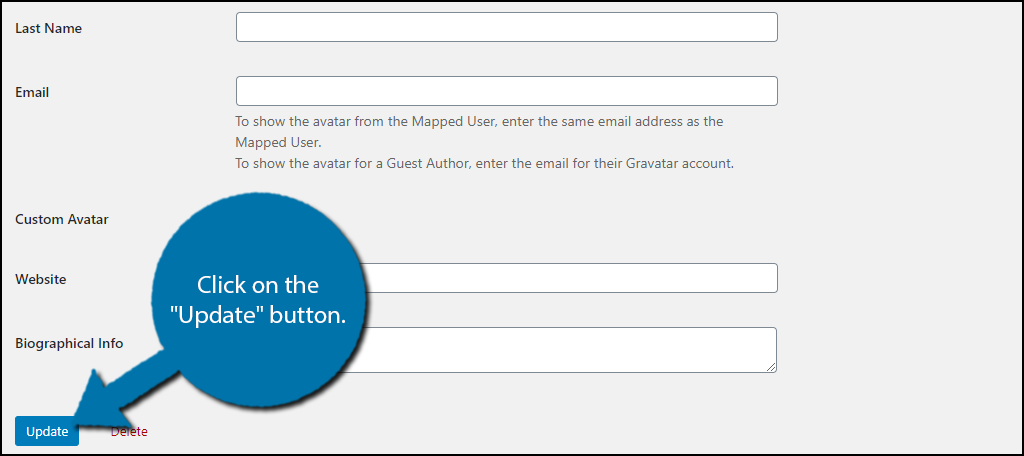
Here, you can find text boxes to add their name, email, add a custom avatar, a link to their personal website, and the biographical info section. Simply fill in the information and click on the “Update” button.
You can now view the author’s profile box on any post it should appear on your website to see the changes.
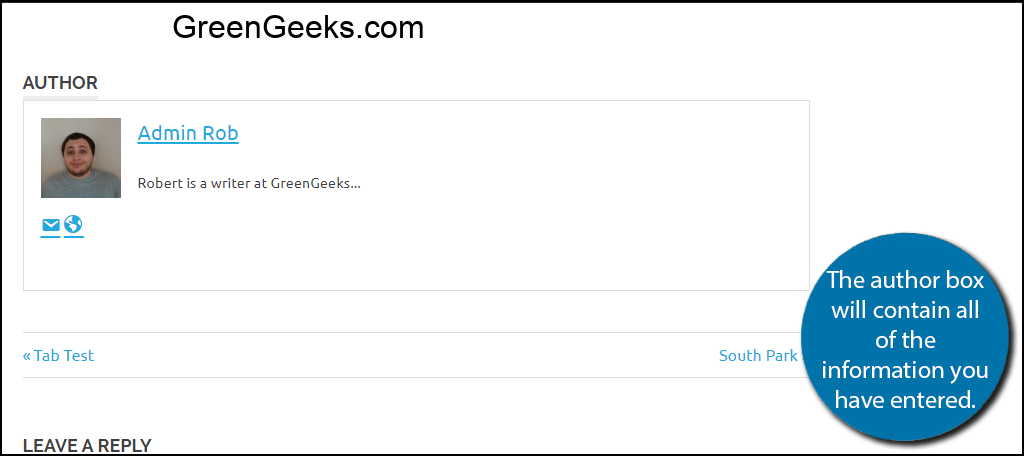
Note: The design of the author box will match the theme you are using, so it will fit in on any website. If you change themes, the author box will change its design automatically. Thus, there is no extra work.
Congratulations on learning how to display author boxes in WordPress with the PublishPress Authors plugin.
Author Boxes Add A Professional Touch
When looking at content on a website, seeing an author box really does add a professional touch to the website. Many readers want to make sure that the content they are reading is from a reliable source, and sometimes the website name may not be enough.
For example, if you run a legal blog, you might have a lawyer as a guest writer. Seeing an author card that reveals a real lawyer wrote the post helps add credibility to the content and it can help the guest writer connect with new customers.
It’s a win-win situation.
It’s also beneficial if you are working on a collaboration project with another website to be able to list yourself and the collaborator as authors of a single post. This is necessary for research environments to properly credit each researcher.
How easy did you find the PublishPress Authors plugin to use? Does your website utilize guest writers?