
Do you need to resolve the mixed content error in WordPress? This is one of the many common WordPress errors you will encounter while on the platform. The mixed content error is caused by an HTTPS or SSL setting that was set up incorrectly.
If you recently made any changes to either of these settings or installed a new plugin, you know where to look first. This error will have little to no effect on your website’s performance but will have negative effects on your website’s SEO.
SEO is very critical to your website’s success because it determines the amount of traffic you will receive from search engines.
Today, I will demonstrate how to resolve the mixed content error in WordPress using the SSL Insecure Content Fixer plugin.
How Are SSL Certificates and the Mixed Content Error Related in WordPress?
Next, to your website’s URL, you should see a box that contains the word “Secure” like this:
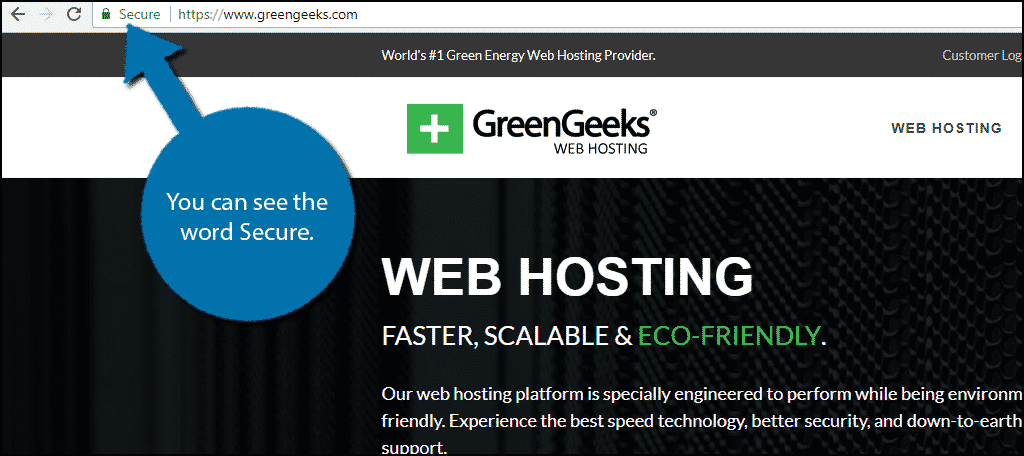
This means all of the content on your website is secure, but that’s not the only symbol you can see. You can also see an info symbol in place of the word secure:
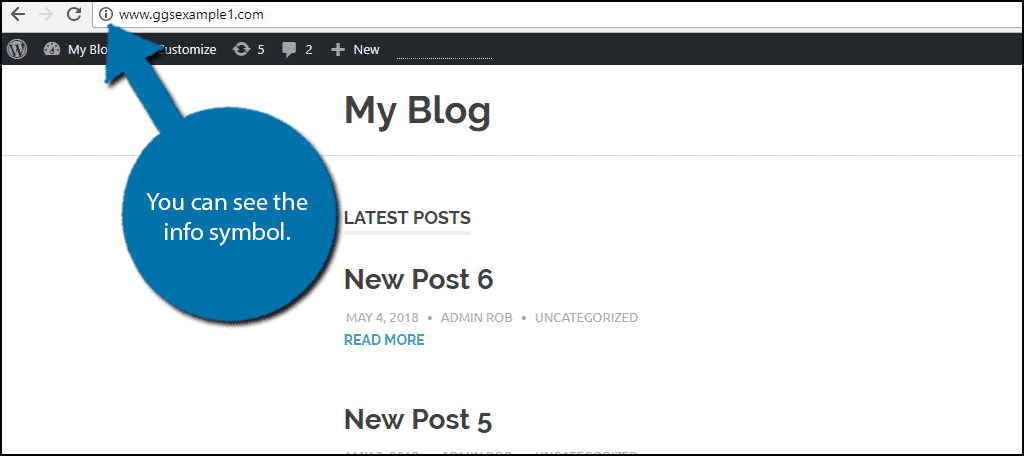
This symbol means that you do have an SSL certificate, but some of the content on your website is not using an HTTPS URL. It is definitely in your website’s best interest to make sure your website says secure.
Why Do You Need an SSL Certificate on Your Website?
Adding an SSL certificate has many benefits and those benefits will be almost mandatory after July 2018. That is because Google Chrome, the most used web browser in the world, will start marking all websites that do not have an SSL certificate as insecure.
This will lower your website’s SEO drastically and you do not want this to happen. There are multiple ways to add an SSL certificate in WordPress and one of the best ways is directly through your web host. Many web hosts will include SSL certification for free or at a very small cost.
It is also extremely easy to do, but you can potentially run into this mixed content error if you do.
How to Resolve the Mixed Content Error in WordPress
Today, I will demonstrate how to resolve the mixed content error in WordPress using the SSL Insecure Content Fixer plugin. You can certainly try to find what setting is causing a problem on your website, but with how important SSL certificates are becoming, it’s best not to take any risks. This plugin will be able to fix your website’s problem in minutes and it’s extremely easy to do.
Method 1: Using Insecure Content Fixer
Step 1: Install SSL Insecure Content Fixer
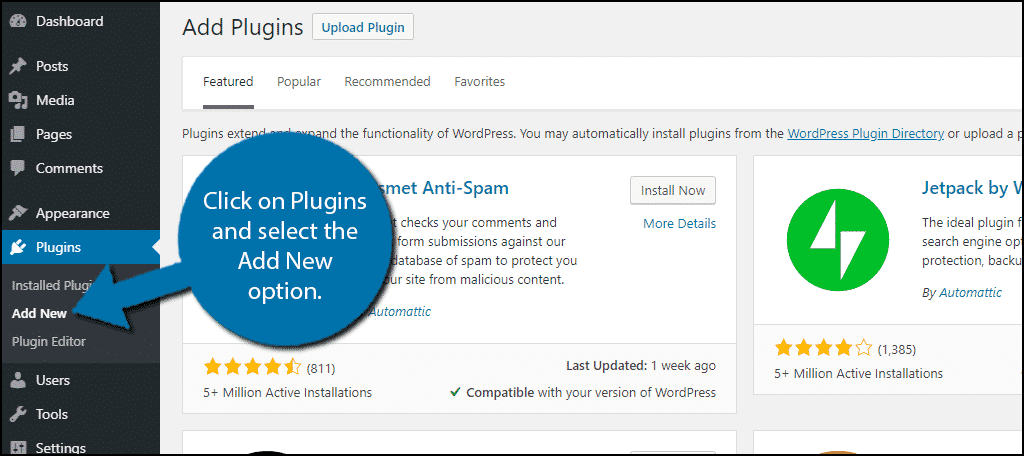
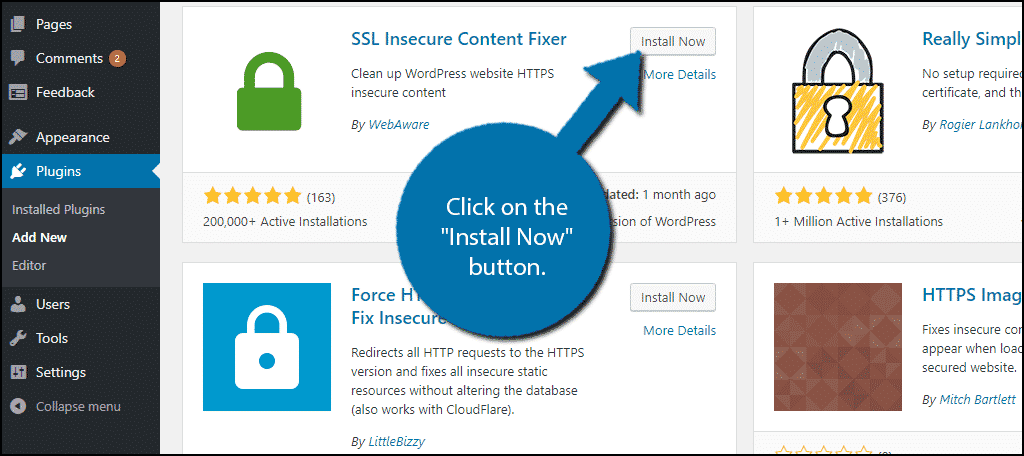
Start by clicking on Plugins and selecting the Add New option on the left-hand admin panel.
Search for SSL Insecure Content Fixer in the available search box. This will pull up additional plugins that you may find helpful.
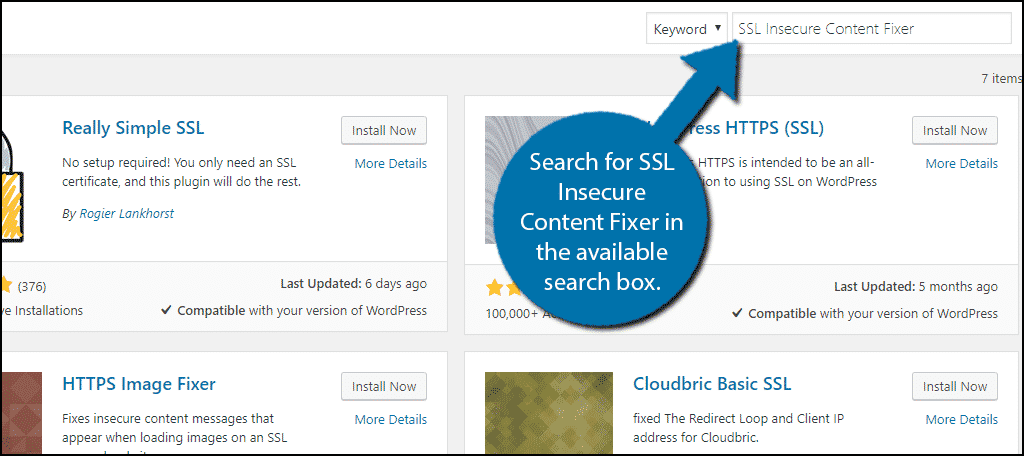
Scroll down until you find the SSL Insecure Content Fixer plugin and click on the “Install Now” button and activate the plugin for use.
Step 2: Understanding the SSL Insecure Content Fixer Plugin
On the left-hand admin panel click on Settings and select the SSL Insecure Content option. This will pull up the main settings page.
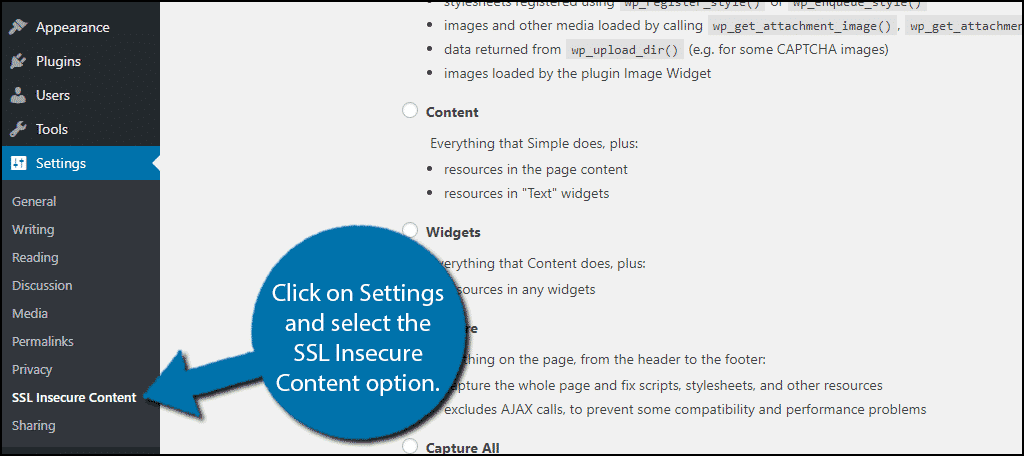
This plugin is very easy to use. In fact, you may already notice that the error on your website is fixed. Once the plugin is activated, the default options will work for most websites, but if not, don’t worry, the plugin has multiple options to try.
There are five options to choose from. They include Simple, Content, Widgets, Capture, and Capture All. Think of them as a hierarchy system. Each option includes more features than the previous one. The order from weakest to strongest is as follows:
- Simple
- Content
- Widgets
- Capture
- Capture All
To make it very simple to understand let’s explain how the system works. Simple is the default option, it will have the least impact on your website and is the fastest method. Now, if having this active did not solve the problem, select the next option, Content.
This option includes everything that was included with Simple plus page content and text widgets. This trend continues down the list. Each option following another option includes everything the previous one did plus a little bit more.
Step 3: Using the SSL Insecure Content Fixer Plugin
The settings page is very clear in listing what each one does. Simply select the next option and click the “Save Changes” button. Check to see if the error is fixed. If not, select the next option and check again.
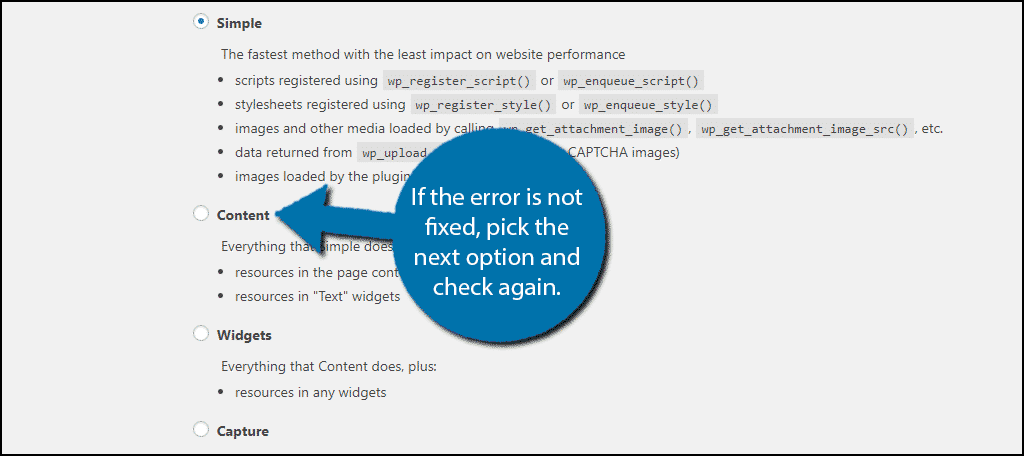
One of the options should be enough to fix your website’s error, but if not, you may have a deeper problem and if that’s the case, you should consider removing the SSL on your website and reinstalling it.
Congratulations, you have successfully fixed the mixed content error in WordPress.
Method 2: Fix a Mixed Content Error with Better Search & Replace
Step 1: Install Better Search & Replace
Better Search & Replace allows users to search for text, URLs, images, videos, and anything else they can think of and replace that content with something else. So, how does it help you fix the Mixed Error Content Error?
To put it simply, you may just need to update your website’s URLs from using HTTP to HTTPS. This plugin allows you to do that in minutes and it’s quite easy to understand. But first, you need to install it.
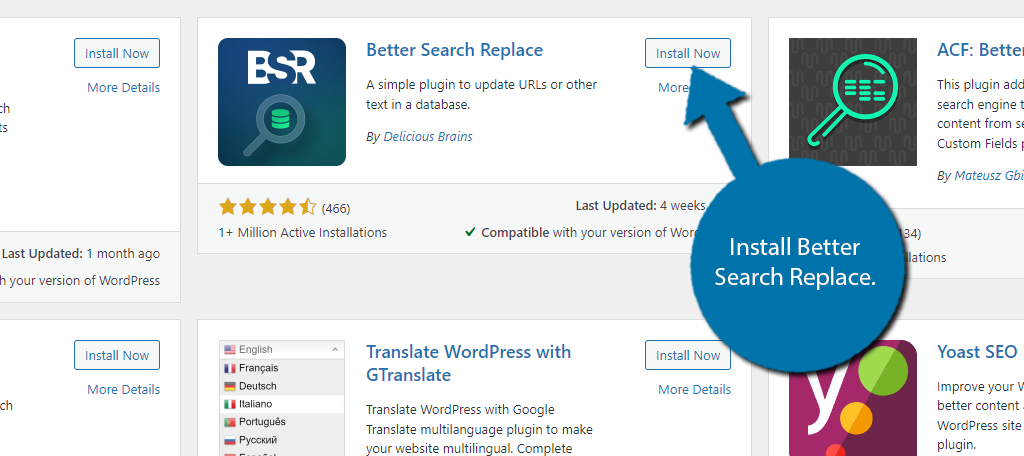
Go to the plugins area of WordPress and search for the Better Search & Replace plugin. Click on the “Install Now” button and activate it for use.
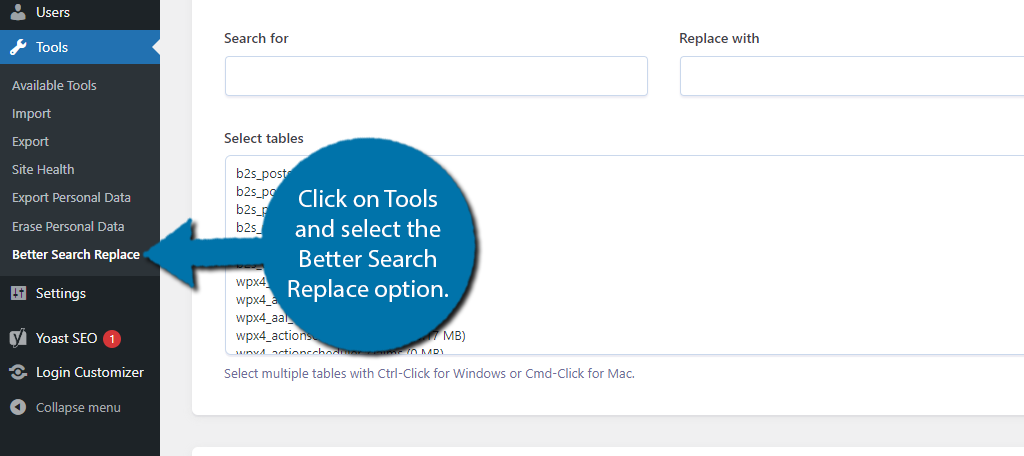
Step 2: Locate Better Search Replace
This plugin does not add a dedicated option for itself on the admin panel, which can make it hard to find. It is also not located in the Settings section. Instead, you can find it by clicking Tools and selecting the Better Search Replace option.
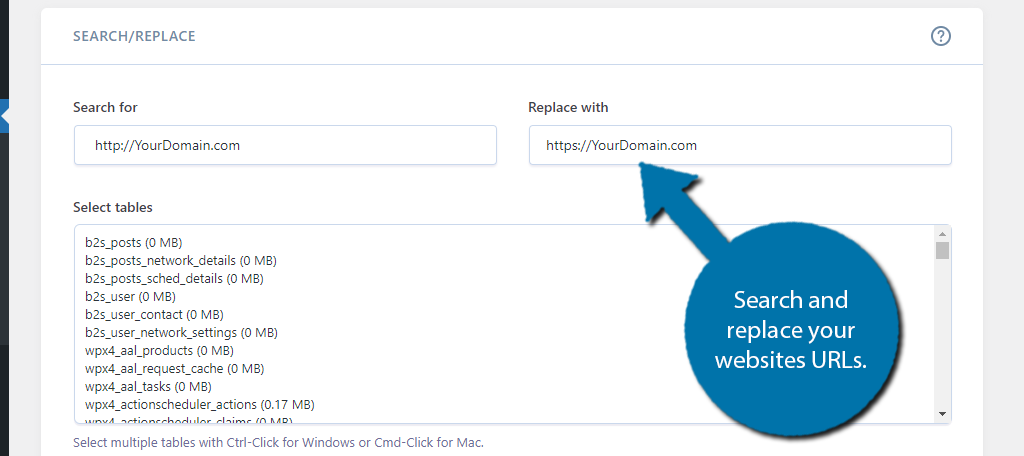
Step 3: Replace Your URLs
All you need to do is systematically replace your URL with the updated version. So again, before you had an SSL, your URL was http://YourDomain.com. And now that you have an SSL, it should be https://YourDomain.com.
Take note that there is an “S” added. Simply enter the existing URL into the search box and enter the new one into the Replace box.
Scroll down and make sure the “Run as dry run” box is checked. This will show you all of the changes before they are made. This can help you catch problems that may arise from replacing a term.
Click on the Run Search/Replace button.
You will see the results. If everything looks good, confirm it to apply the changes.
Fix the Mixed Content Error in WordPress Today
SSL is nothing new, but it has always helped your website’s SEO. With the changes Google is making to Google Chrome, it has become even more crucial to all websites. Chrome is the most used web browser on both computers and mobile devices.
Odds are a lot of your traffic comes from this browser and being labeled insecure by Google can drastically lower your search rankings. That is something you absolutely need to avoid.
Which option resolved the mixed content error on your website? How did you install the SSL certificate on your website?